

Review: the smallest PLC with HMI and I/O — Horner X2

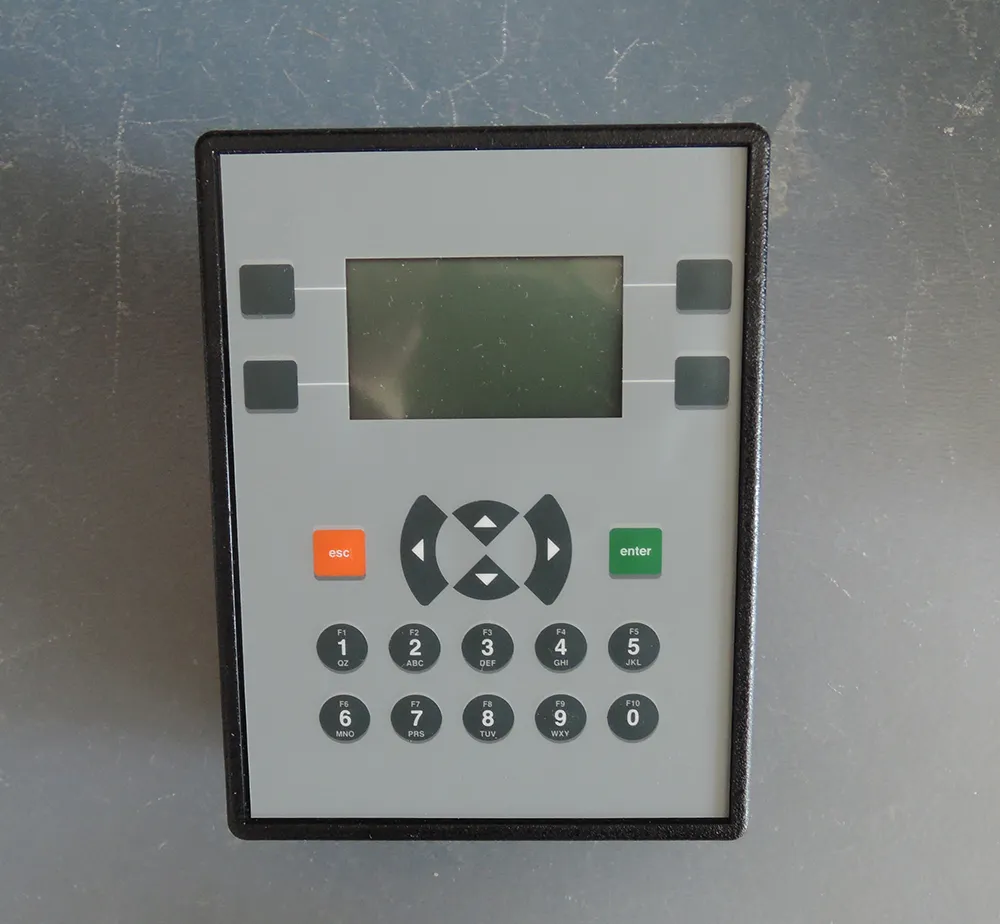
Experienced technician Jaroslav Blažek (blaja.cz) tested a small PLC with HMI and I/O — the Horner Micro X2 — featuring a monochrome 2" display and keys for entering numbers from 0 to 9. It is ideal for smaller local control applications and simple visualization.
Review: Horner Micro HE-X2A PLC with I/O peripherals
A PLC with a 2.2" monochrome LCD display, 128 × 64 pixels. In this test, we will focus on the firmware and its upgrade, as well as expanding the PLC with I/O peripherals, which is an essential capability for all PLCs of this type.
Parameters: HE-X2A, 12× DI (4× HSC, 10 kHz), 12× DO (2× PWM, 65 kHz), 4× AI (0–20 mA, 4–20 mA, 12-bit), 2× AO (4–20 mA, 12-bit). Dimensions: 96 × 125 × 31 mm.
The 0–9 keys are great for entering numbers directly into programs on the display.
Manual and specifications are available with the product.
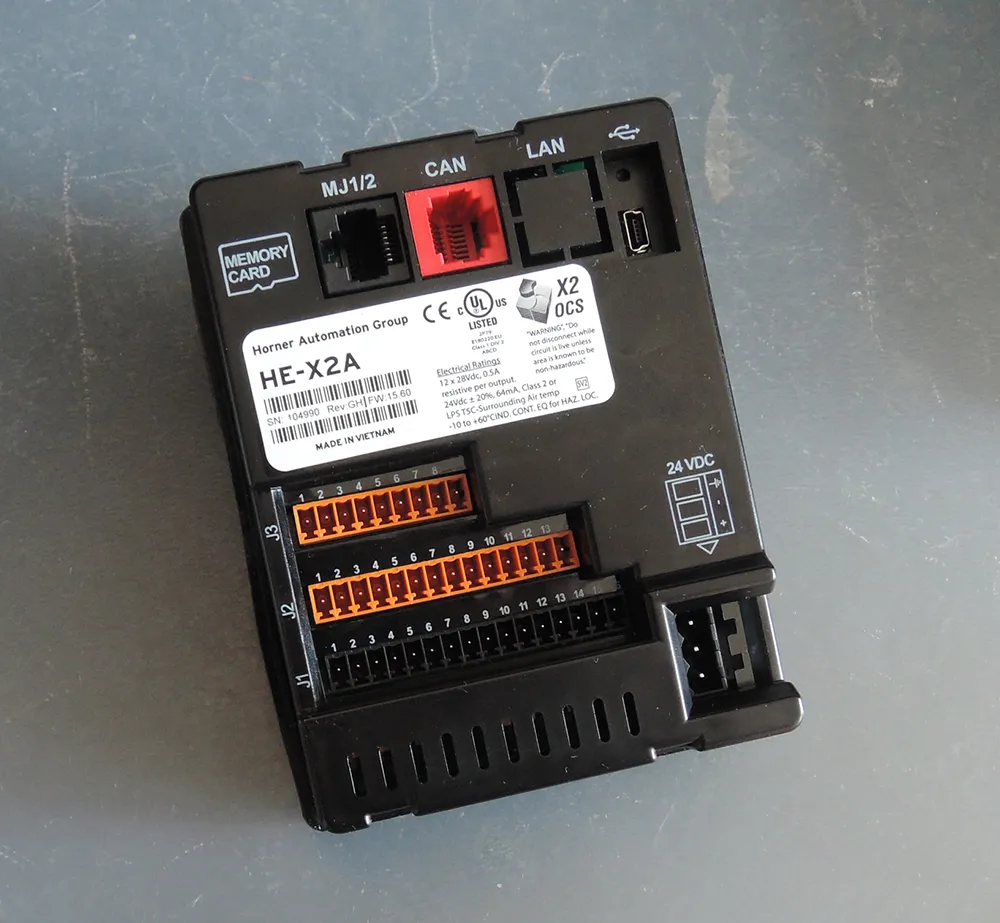
Looking from the rear side, unlike previous Horner models, the CANbus interface is on an RJ45 connector, and this small PLC series does not include Ethernet. Connection to a programming laptop and the Cscape software is therefore done via USB. The RJ45 connector labeled MJ1/2 provides a serial interface. Inputs and outputs are on terminal blocks.
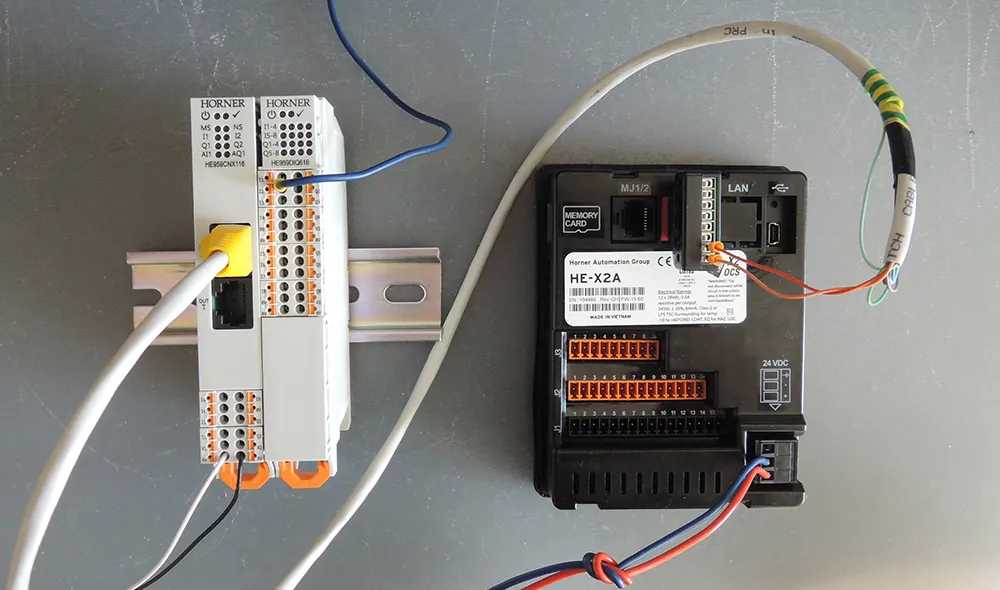
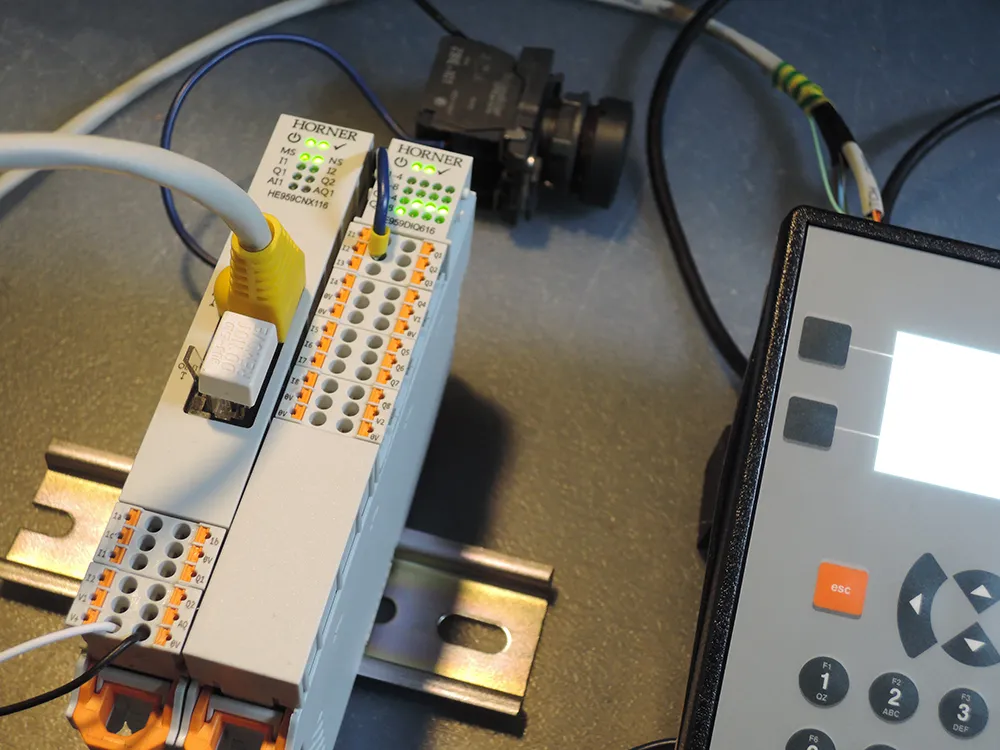
Expansion with Horner OCS-I/O modules via CANbus uses the same cable from our previous tests. This expansion option is very important because these PLCs are typically mounted on cabinet or enclosure doors. It is not always practical to route all wiring through the door to the PLC I/O. Also, 12 inputs and 12 outputs are not a large number, while the PLC itself has sufficient capacity for larger programs where this I/O count could be limiting.
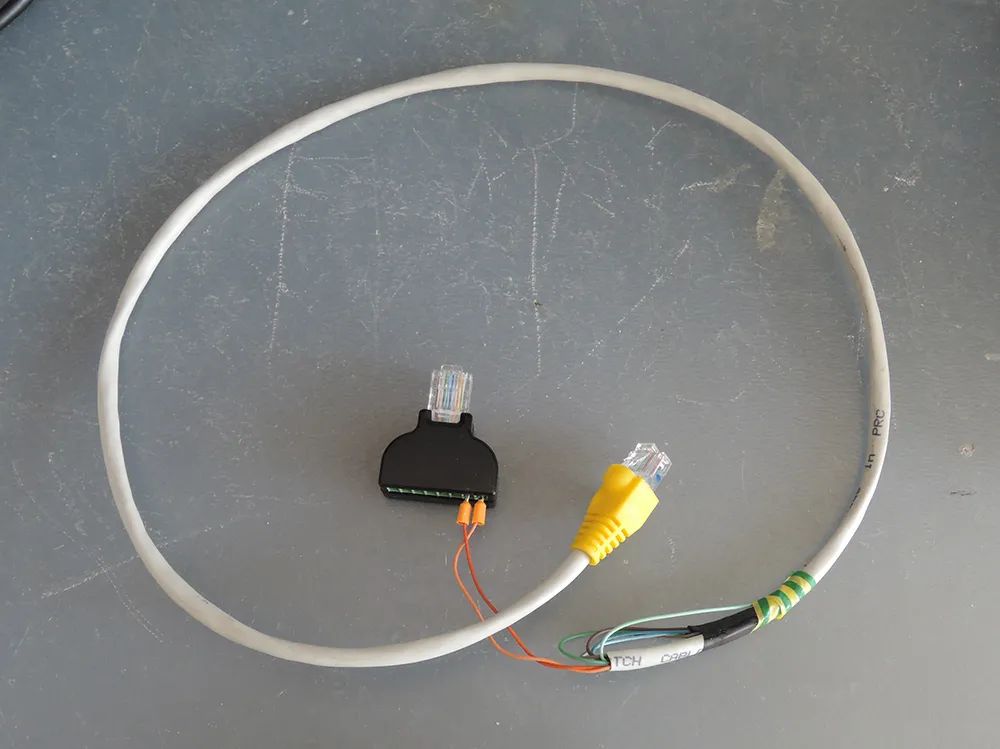
For testing, we used a common RJ45-to-terminal adapter.
Termination of the CANbus is also essential — in this case using an original HORNER module.
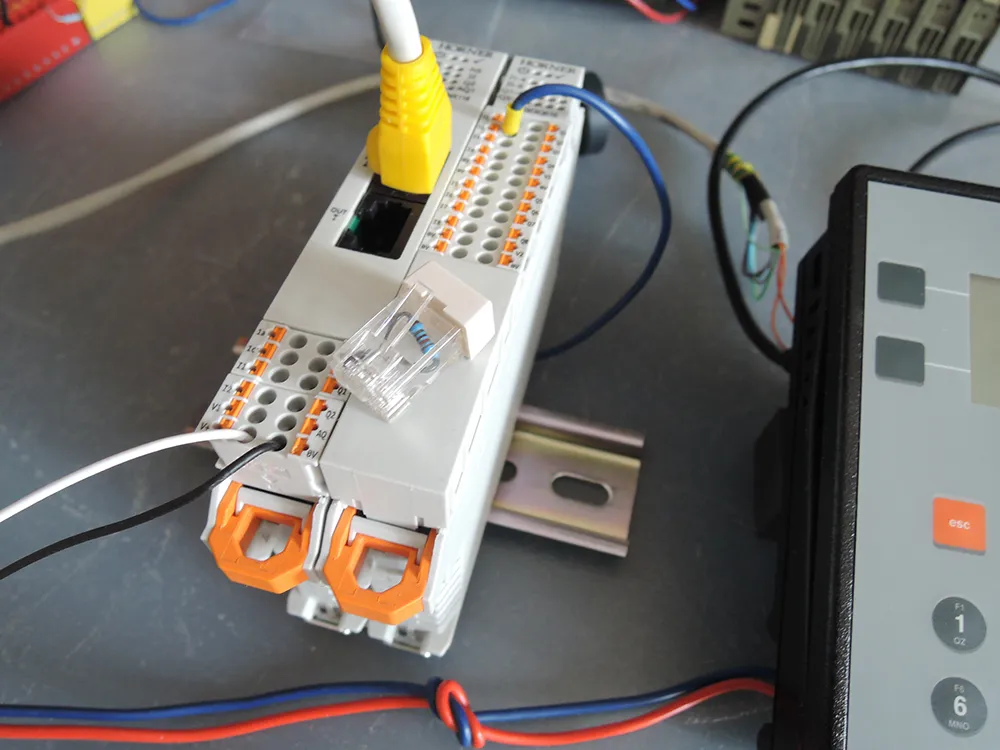
The terminating resistor can also be connected on the other end, or a 120-ohm resistor can be simply inserted into the RJ45 connector if the original is not available.
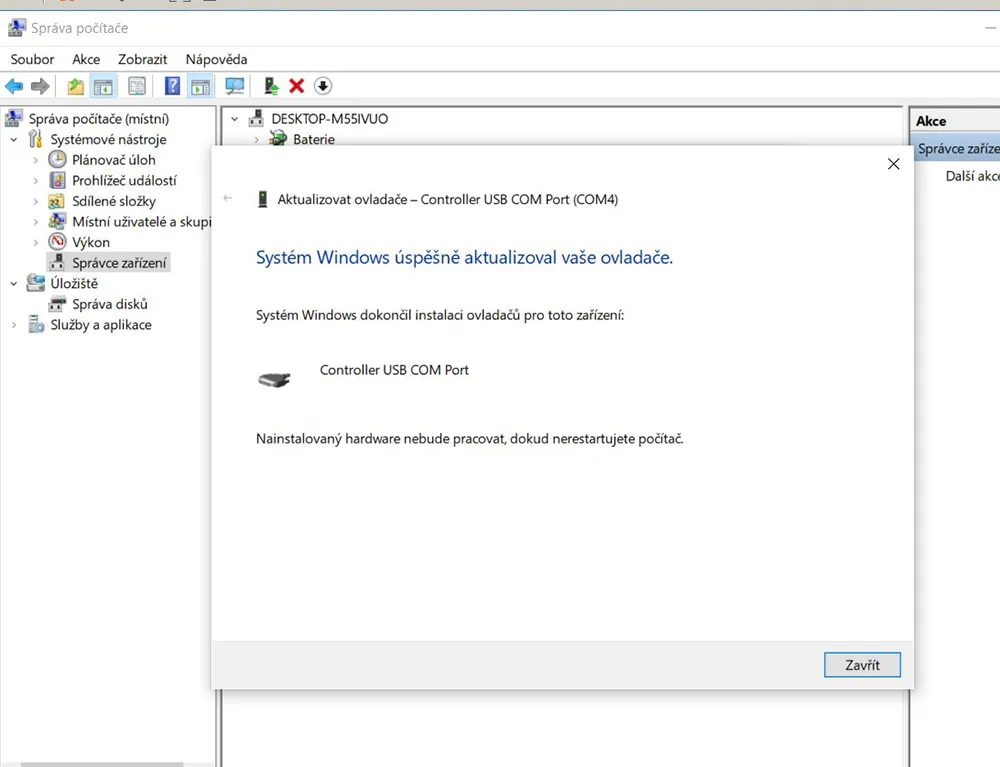
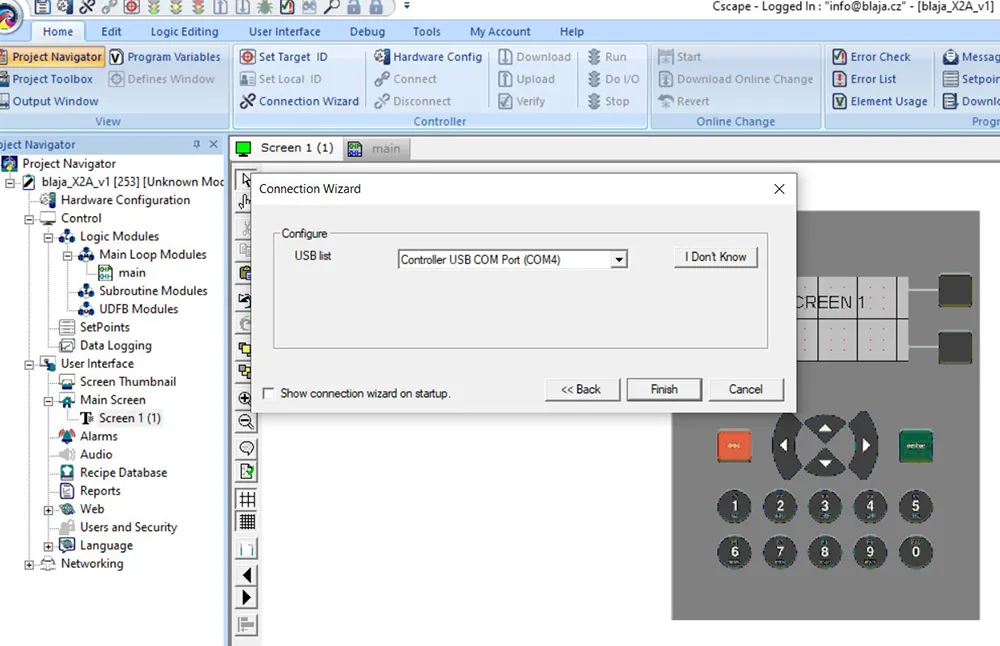
To successfully connect the software to the PLC, the USB driver must be updated. Simply choose “Update driver” in the driver properties and the system installs everything automatically — in this case on COM4. The port number can be easily changed in the settings.
Connection properties are now set to USB.
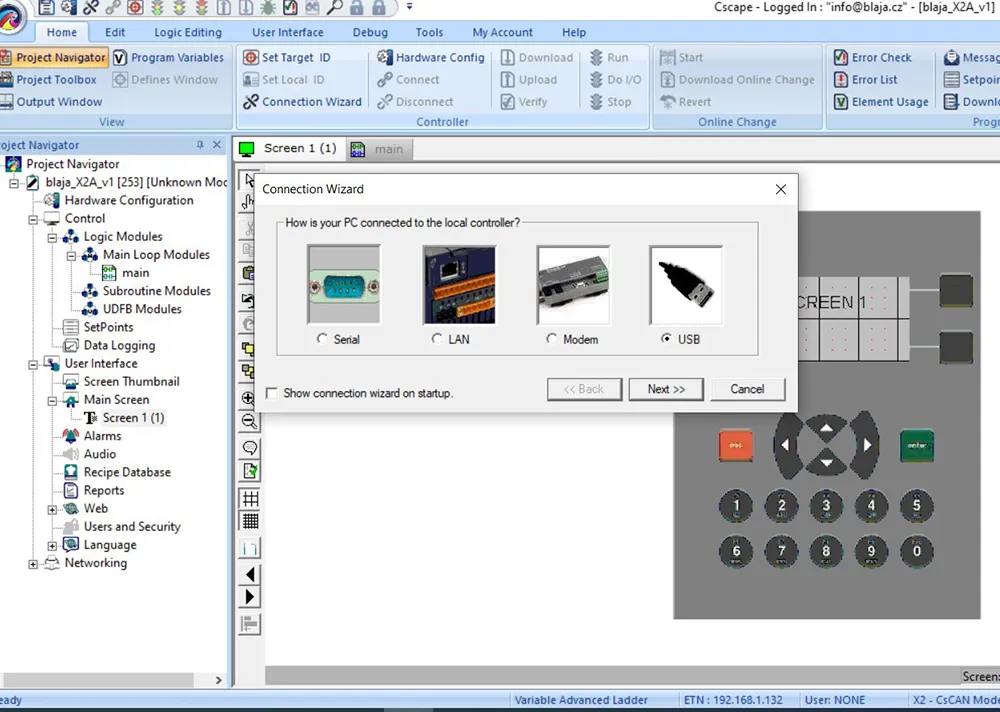
And here we already have the updated USB driver.
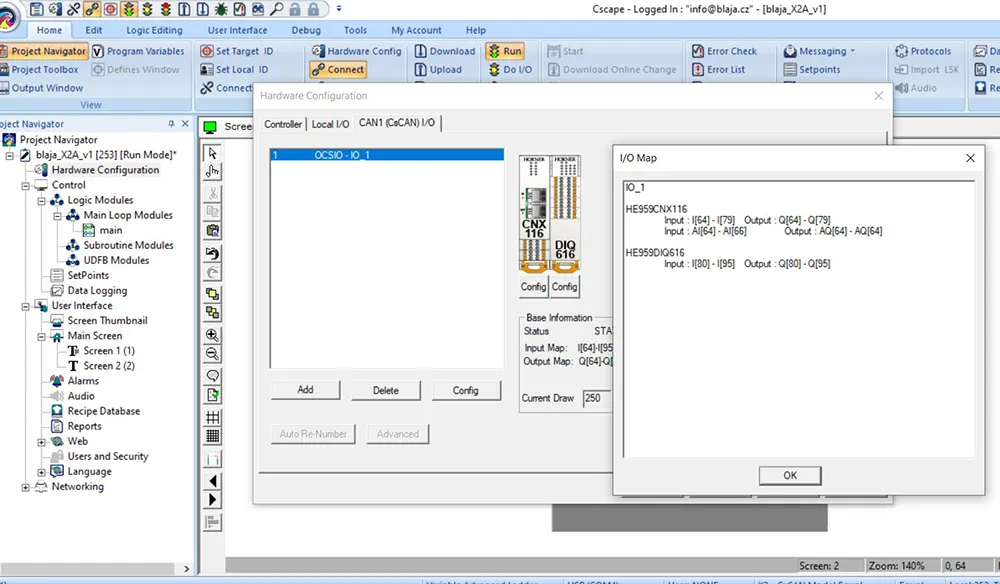
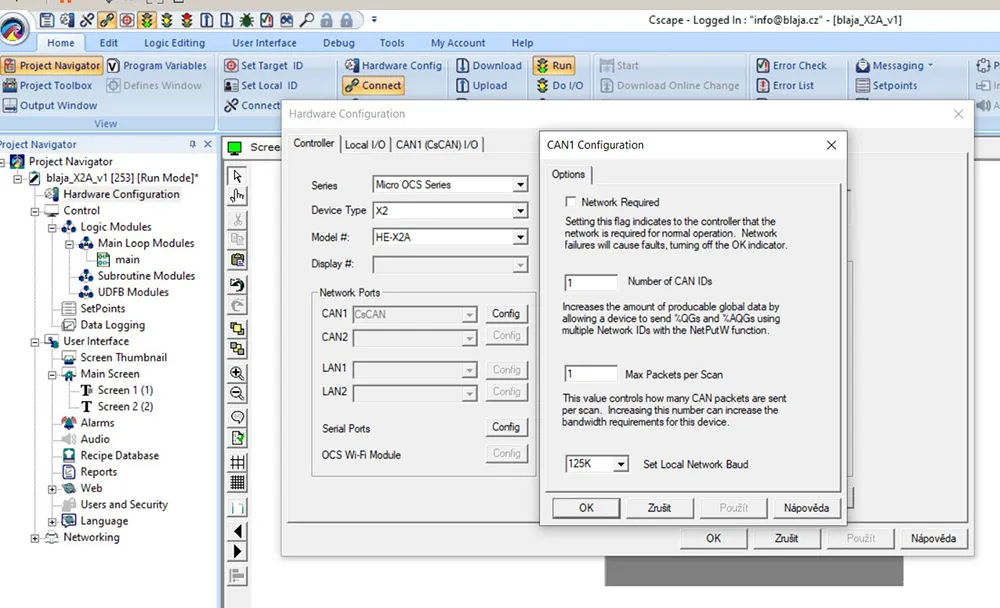
We’ll keep this brief compared to previous articles: in the hardware configuration, we set up the Horner OCS-I/O peripherals just like before.
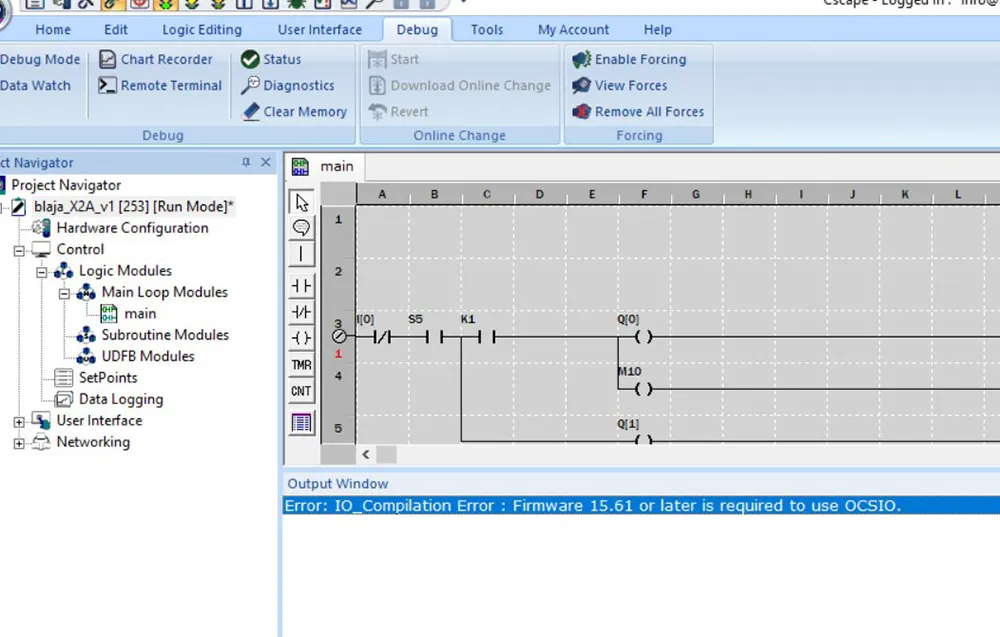
However, during compilation, the software stops us — the PLC has firmware version 15.60, and we need a newer version. If it cannot be found on the Horner website, their technical support will usually send it very quickly. :)
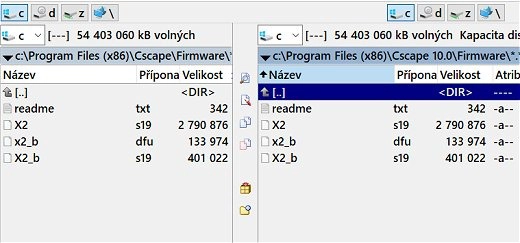
The firmware is not a single file but a self-extracting package that unpacks files into the appropriate Cscape (free programming software) firmware folder. However, our version is installed in Cscape 10.0, so the files must be copied there. Otherwise, the firmware will not update.
Then simply select the X2 PLC in the menu and start the firmware update.
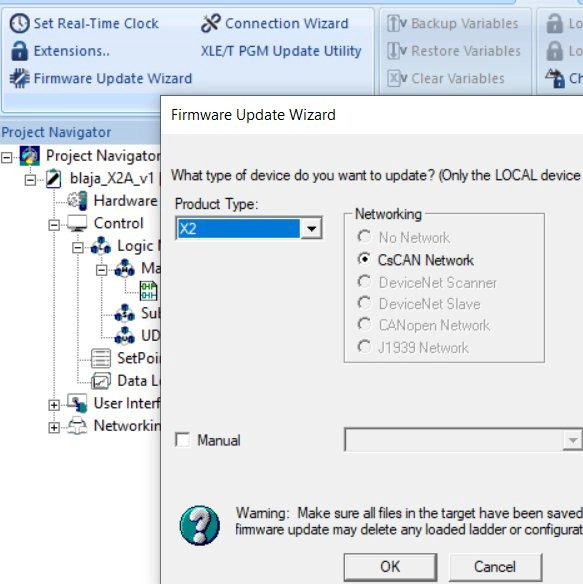
And it runs smoothly.
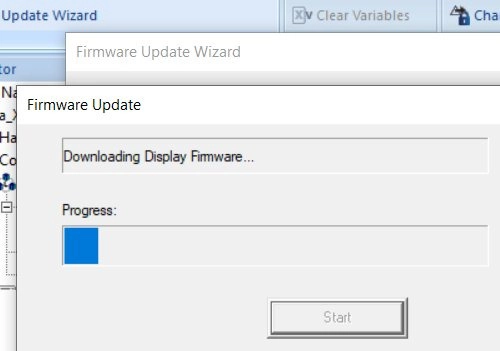
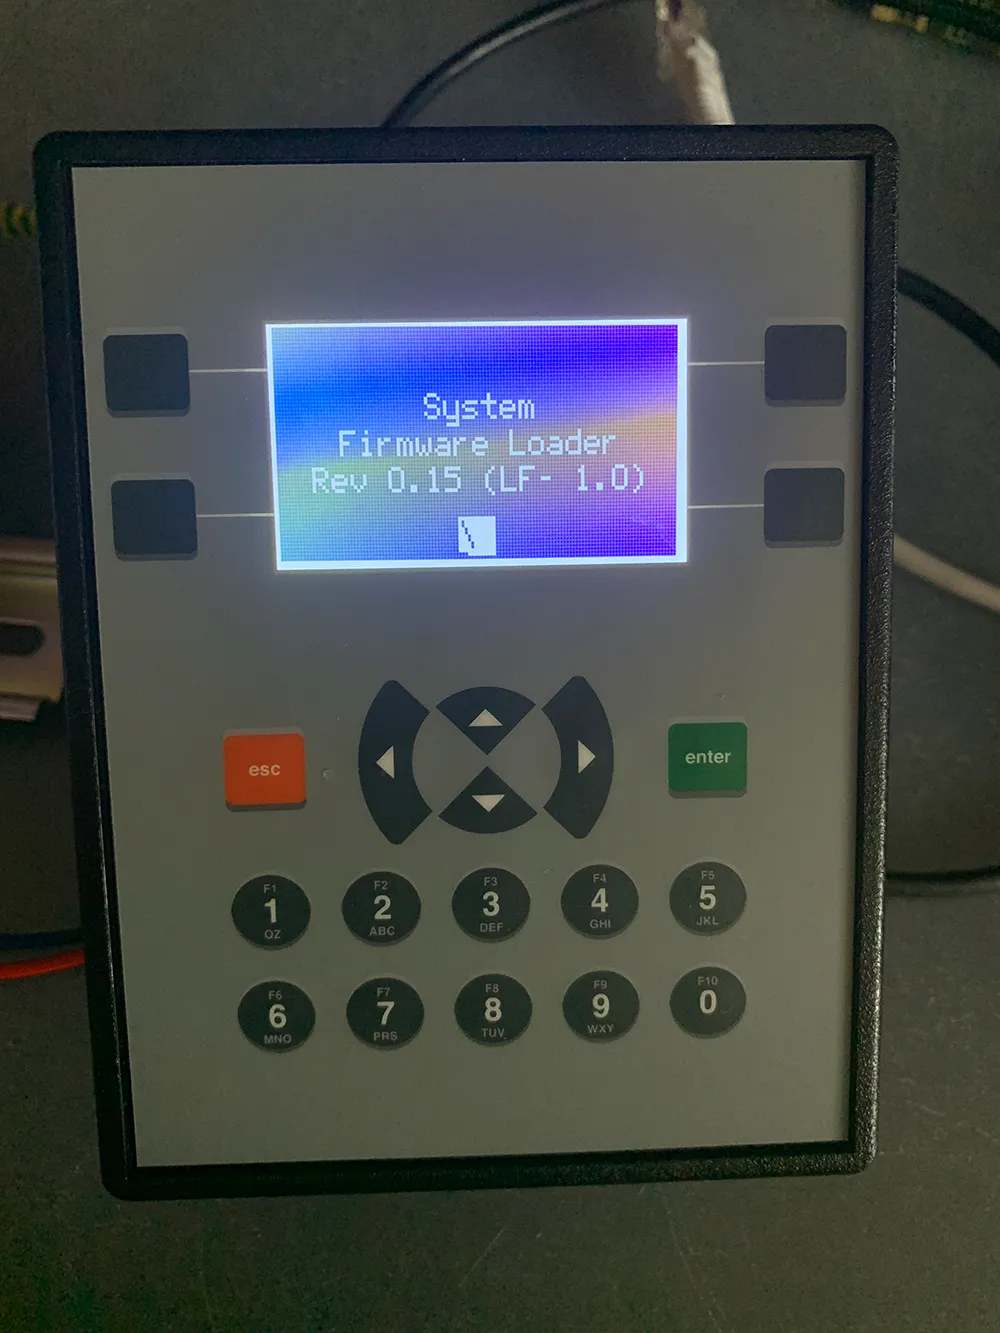
You can also see the process on the PLC display.
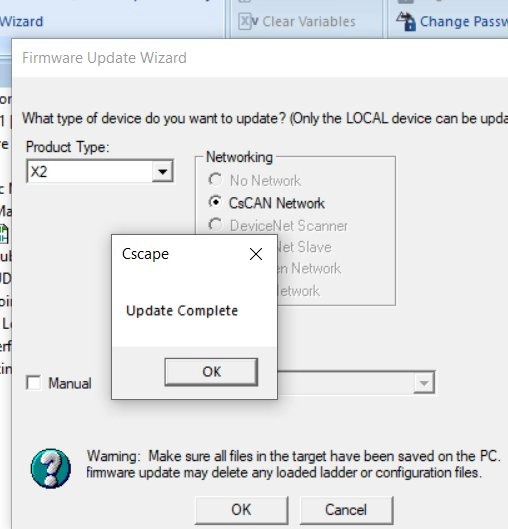
The update is completed in a moment.
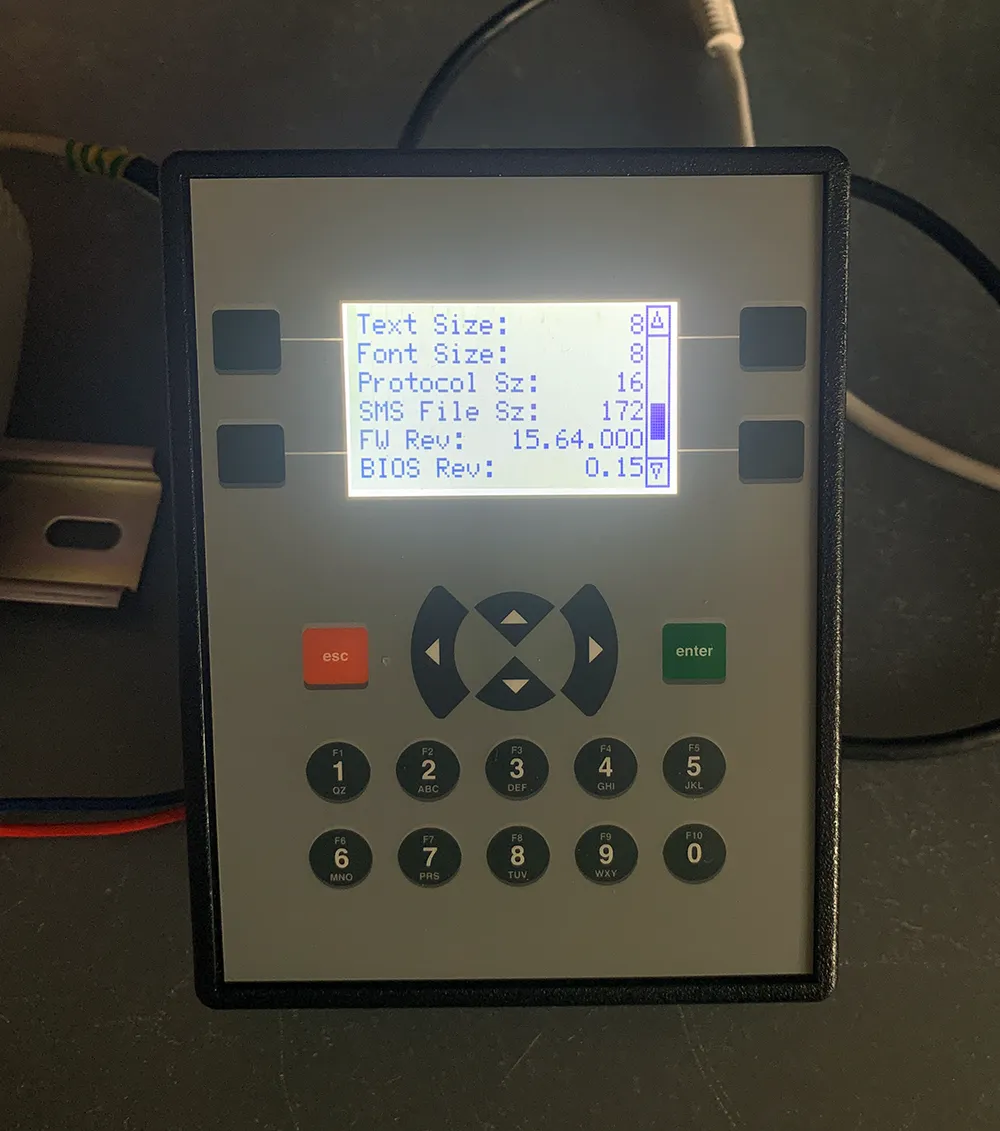
Updated firmware version 15.64 appears in the PLC system menu. You can access it by pressing the up and down arrow keys simultaneously.
Hardware configuration is the same as in previous reviews, just with a different PLC. Pay attention to the CANbus speed — 125K is appropriate. Higher speeds are not intended for these OCS-I/O peripherals but for more advanced devices.
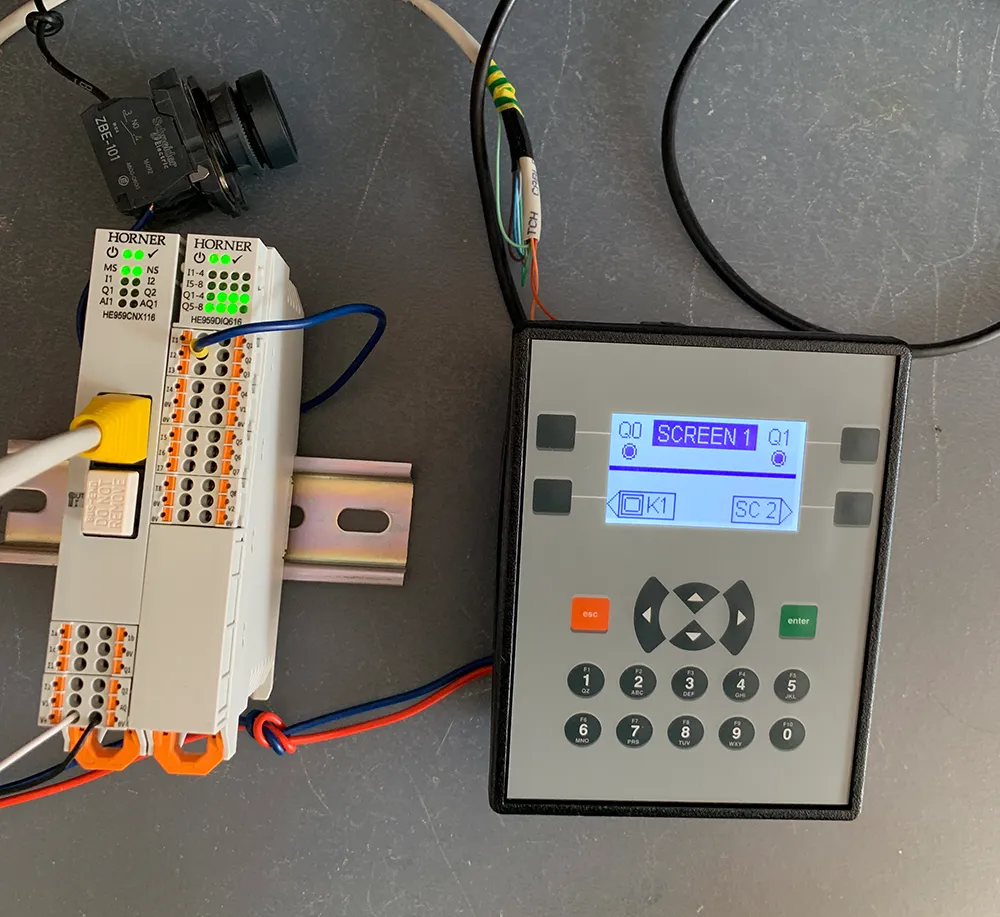
Physical OCS-I/O hardware.
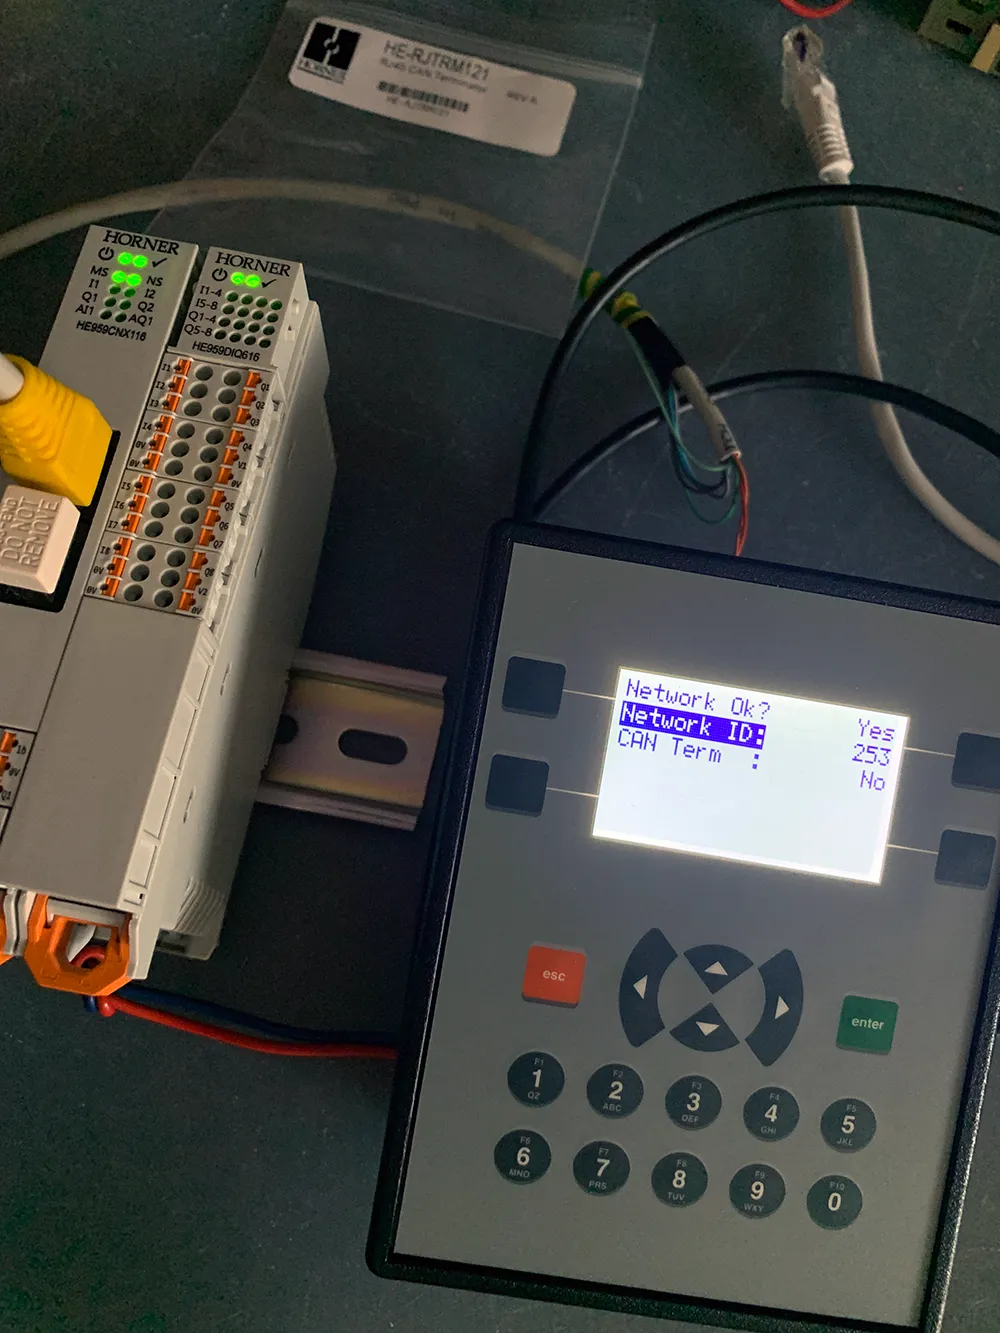
You can verify that the CANbus is running directly on the PLC display in the system menu.
A standard check of physical addresses on both the PLC and peripherals.
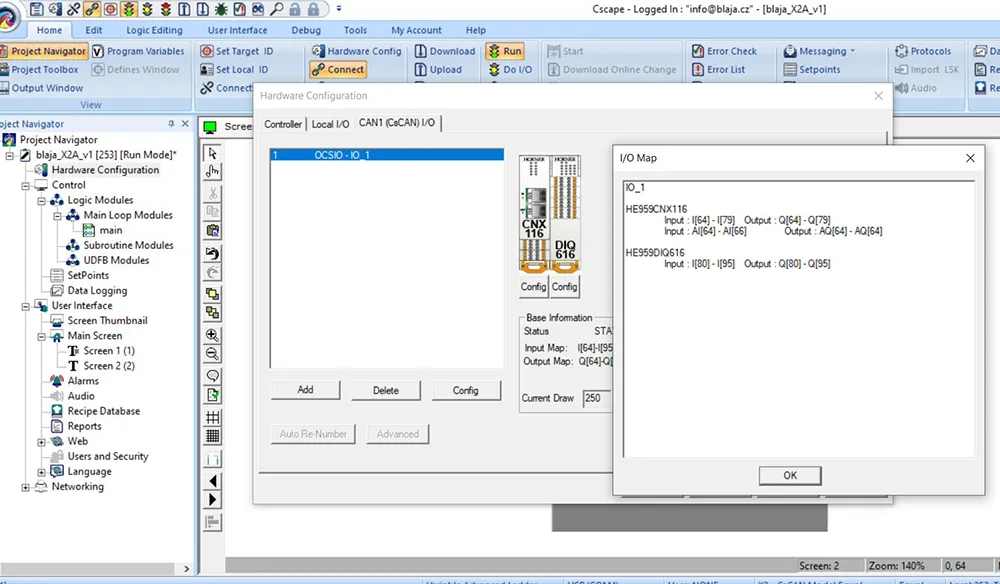
Screen elements are adapted to the display type and resolution.
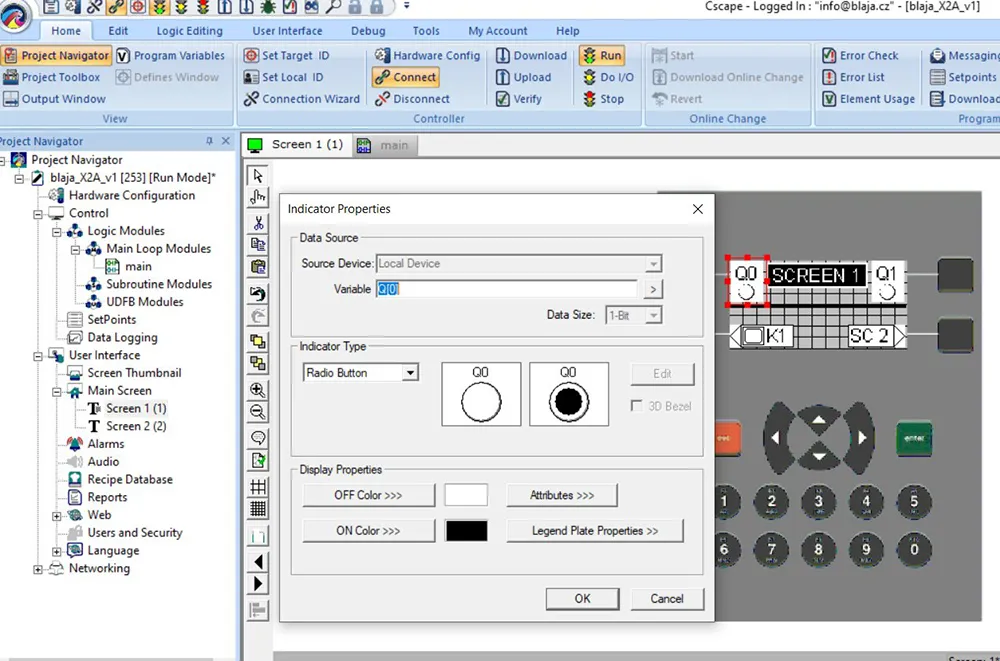
Display brightness can also be adjusted, making it very readable. The limit of 250 screens in this PLC is impressive, allowing user-friendly configuration of many variables via the display.
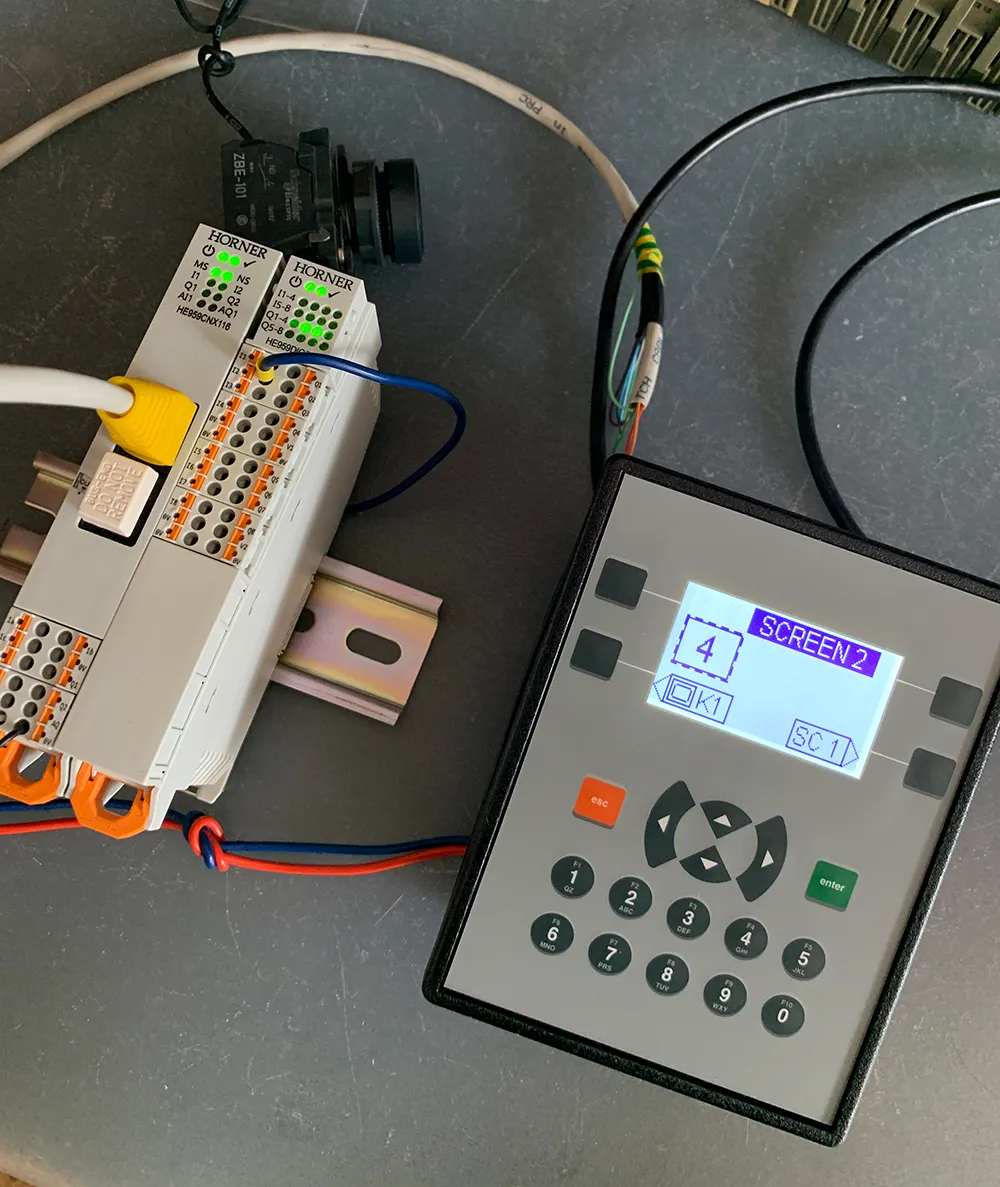
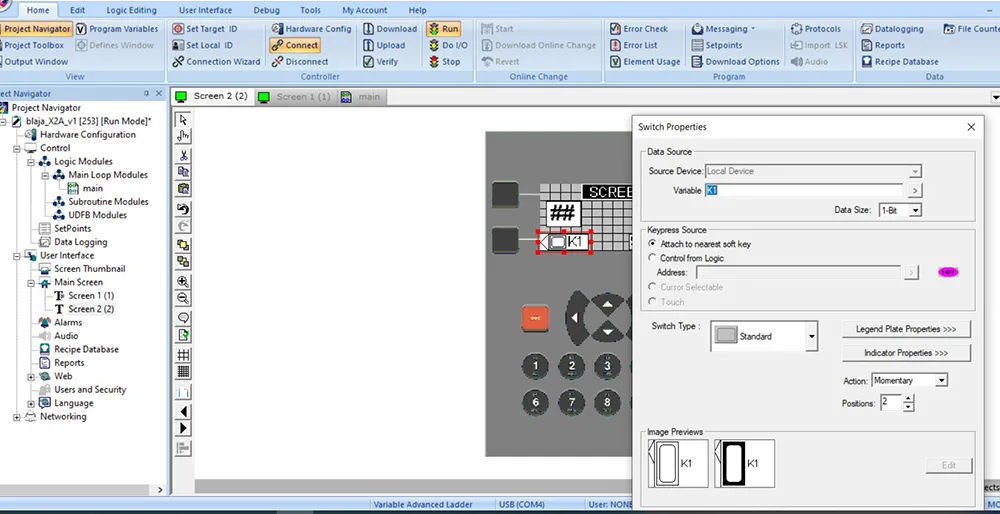
An interesting feature is assigning buttons to on-screen switches — simply use the button closest to the element on the screen.
After uploading everything to the PLC, the entire setup works.
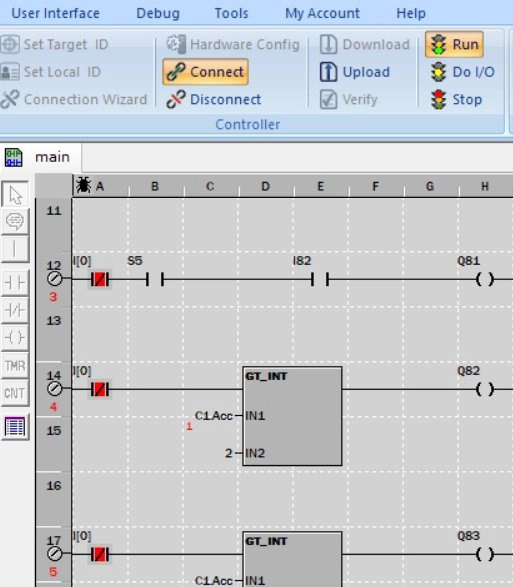
Exactly like this:
Conclusion:
We have already tested many PLCs with displays from Horner, essentially covering a cross-section of their entire product range — from the largest models to one of the smallest, the Micro X2.
Technical support is also important, as you will likely need assistance while learning. Horner’s support works quite well — you usually receive a response the same day during working hours, or the next morning at the latest.
Jaroslav Blažek
We also provide technical support in the Czech Republic and Slovakia at: support@foxon.eu.
Interested in a Horner PLC with HMI and want to see it in person? Contact your regional sales representative.
Recommended products2

OCS-I/O – modular CsCAN I/O system for HORNER PLCs
272,25 EUR Incl. VAT

HORNER X2 PLC HMI controller with 2.2″ monochrome screen, analog / digital inputs and outputs
335,17 EUR Incl. VAT